Xenon prior — the creation of high-quality light!
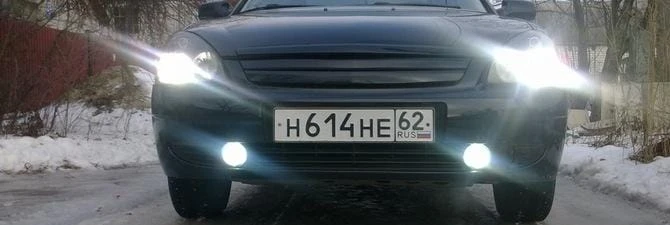
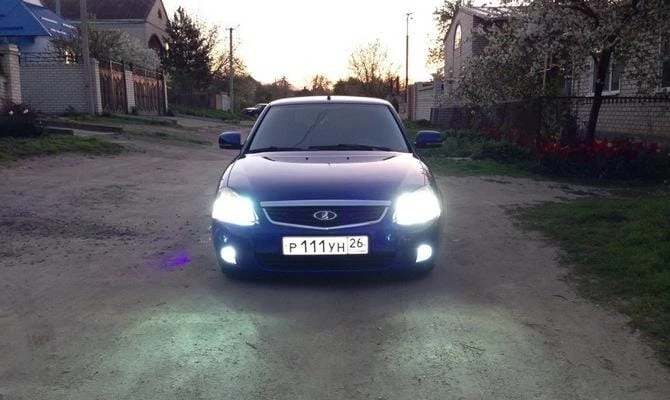
Xenon on Priora is an opportunity to improve lighting, reduce the load on the generator and increase the service life of car elements. More and more owners are installing original xenon kits in the headlights and fog lights of the Lada Priora.
1 Xenon Benefits and Selection Guide
Unlike traditional incandescent lamps and halogen headlights, xenon lamps have a high light output, greater resistance to various temperature changes and a quick warm-up moment. Color saturation and brightness of xenon lamps depend on power and color temperature. For Lada Priora models and other domestic cars, as well as for cheap foreign cars, lamps with a color temperature of 4000 to 6000 Kelvin are suitable.
Xenon on Priora As the practice of installing and operating xenon in headlights and fog lights shows, xenon kits with 5000K lamps will be the best option for Priora for light. This lighting option is much better than standard halogen headlights and does not dazzle if light excessive vehicle consumption is hit when driving at night. The color of the lighting will also depend on the color temperature, for example, a 3500K lamp will shine with a powerful but dull yellow color, while a 6000K xenon version will have a bright, saturated blue glow.
As for the manufacturer, it is better to choose kits from well-known brands such as Show-Me, Osram, Bosch, Philips. In this case, you will have a guarantee of lamp life, and the glow will correspond to that stated in the technical documentation of the kit. Next, we will consider the process of installing xenon in the headlights and PTF Priora with our own hands.
2 Installing xenon in the headlights and PTF Lada Priora
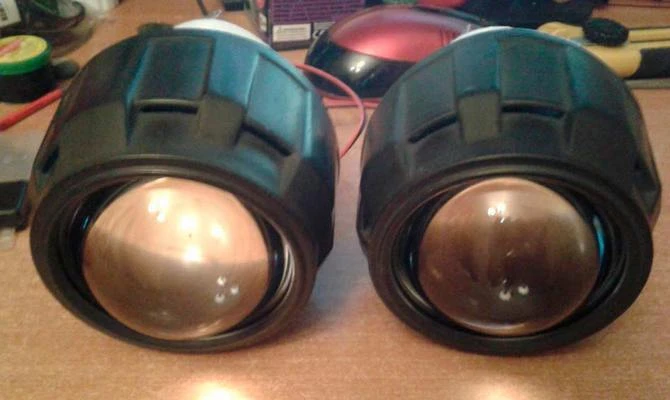
To install xenon with your own hands, you will need a kit, which should consist of xenon lamps for the left and right headlights with an H3 or H2 base (for most Priora), an ignition unit with fastening elements, a set of connecting cables for connection, fastening elements (screws and plastic clamps).
New xenon on a car. In addition, you will need the following tools:
- drill or screwdriver;
- cutters of various diameters (from 3.5 to 5 mm);
- sealant and additional insulation;
- electrical tester;
- a set of standard tools: screwdrivers, keys, stationery knife.
To install xenon bulbs in the headlights and fog lights, remove the front bumper, grille and headlights. Installation can be done without removing these parts, however this will require an inspection hole and is much more difficult. To remove the bumper on the Priore, unscrew 5 screws from the lower mount to the bumper protector. Then, with a 13 wrench, we unscrew three self-tapping screws on the left and right sides, with which the bumper is attached to the anthers. Next, the fender liner bolts and four self-tapping screws in the upper part of the engine compartment are unscrewed. Then carefully move the bumper to the side and remove it from the plastic clips, being careful not to damage them.
The Lada Priora model is equipped with headlights from Kirzhach or Bosch manufacturers, which have various glass mounting options. In the first case, the glass is attached to the projector unit with a sufficiently strong sealant. Take a building hair dryer and warm up the sealed seam well, after opening the plastic side. Once the sealant has softened, gently pry it off with a flathead screwdriver or utility knife and remove the glass. After installing xenon, it will be necessary to transplant the glass to the sealant, having previously cleaned it of traces of the factory paste, and additionally wrap the plastic side with electrical tape or electrical tape for better adhesion.
If your car has a Bosch headlight unit, you will also need to remove it from the mounting bolts and clips, then pry off the rubber gasket between the glass and the unit. Unlike the previous version, there is no need to heat the sealing layer, it is enough to remove and install the sealing rubber. For proper installation and connection of xenon, it is necessary to remove the back cover from the headlight and drill a hole with a diameter of 10-15 mm for wiring. After bending the spring and retainer, remove the old bulb from the headlight and replace it with the xenon equivalent from the kit. Pull the harness through the spring and the plastic plug, in which you also make a hole for the wires.
Next, you need to connect the terminals and wiring, according to the instructions in the kit. In the PTF block on the Priore, the black wire is positive, the white wire is negative.
3 Installation of the ignition unit and lighting connection
We connect the remaining contacts from the xenon lamp to the ignition unit from the unit, according to the proposed scheme. If you follow the instructions, after connecting all the male and female wires, you will have two unconnected terminals of the blue (positive wire) and black (negative wire) of the xenon lamp. They must be connected to the internal terminals of the headlamp or fog lamp, depending on the type of installation.
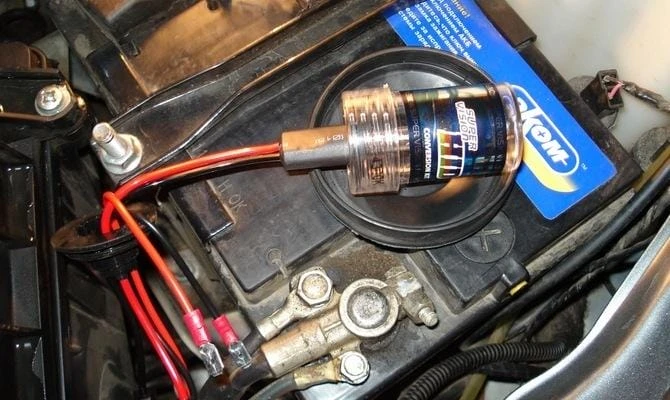
Self-assembly of xenon As for the installation location of the ignition units for xenon lamps, it can be under the bumper, in the engine compartment or directly under the headlight itself. It is recommended to fix the ignition unit not with adhesive tape or electrical tape, but in a more reliable way, for example, by drilling holes and putting them on self-tapping screws or installing them on plastic clips. The installation site must be protected from dust, moisture and dirt as much as possible.
After you have connected and connected all the wires, you need to connect the terminal to the battery and check the operation of the xenon. If everything is in order, disconnect the terminal again and reinstall the lamp. Pass the wires through the spring and plug and, if possible, apply a coat of sealant and additionally insulate the joint. The remaining wires are fixed on the corresponding connectors until a characteristic click, after which the cable ties of the kit are installed to prevent damage and sagging of the contacts. Then, in reverse order, install the bumper and grille.


