Tuning Chevrolet Orlando – elementary modifications of the engine and car body
Tuning Chevrolet Orlando, like tuning other American cars, it is better to start with the replacement of some engine elements. After that, depending on the budget and practical skills in work, you can proceed to the external modernization of the model. We offer to consider the intricacies of carrying out technical and external tuning of a car with your own hands.
1 Mechanical drive to Orlando throttle
Today, most auto shops are literally clogged with vacuum flaps. Yes, there are shops, the vast majority of cars are equipped with this type of element. Orlando is one of those cars. One of the features of vacuum actuated chokes is that their secondary chambers can only open if the air release rate exceeds 4 miles per minute.
In other words, half of the shock absorber practically does not interfere with the operation of the entire car and does not supply the engine with the amount of air it needs. As a result, the engine does not produce full power and consumes much more fuel. Having learned about this fact, home craftsmen thought of turning the throttle-vacuum unit into a mechanical one. This damper adjustment will save a considerable amount of gasoline and increase the power of the car by about 15%.
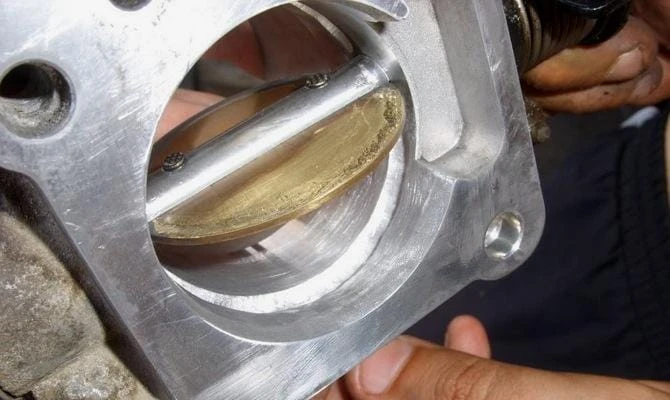
Car throttle tuning To upgrade a Chevrolet in this way, you do not need to remove the throttle. Just remove the stock air filter. Under the latter is a pneumatic actuator, which, thanks to a special leg, opens and closes the shock absorber. The foot, in turn, is powered by a rod, which must be removed and the foot unscrewed. As a result of the changes, the drive arm will play the role of a presser foot. But for everything to work properly, you will need to weld a hook that will need to be attached to the unit. As a result, the shape of the leg will change slightly, but there is nothing critical in this – the part will not protrude or stick to other elements of the Orlando engine compartment.
At the next stage of modernization with your own hands, you need to remove the diaphragm, in place of which we put a rubber gasket. The latter will prevent air leakage. After installing the gasket, you need to install the Chevrolet leg in its place. After adjustment, you will immediately notice an increase in vehicle dynamics and a reduction in acceleration time of about 1.5 seconds.
2 Replacing diffusers and increasing the size of jets
After you get back to work on the unit, you can work on the Orlando's bodywork or tweak the shock on the car a bit. To make the car a little more powerful, you need another injector, which will act as a kind of donor. In this regard, it is best to choose the Mercedes W210 injector – this auto part has all the necessary parts for our work.
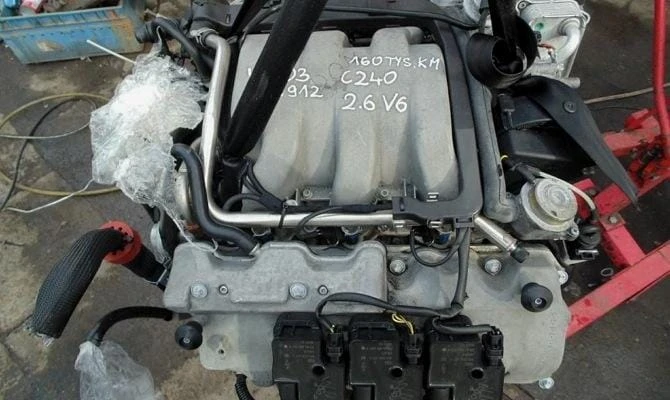
Injector Mercedes W210
After purchasing the part, you need to remove the small diffuser on the Chevy's primary throttle body. The part is easy to find – it will be marked “3.5”. Instead of this element, we installed a diffuser marked “4.5”, taken from a replaceable nozzle. At the same time, you can change the atomizer of the accelerator pump. To do this, we remove the standard Orlando part and replace it with an enlarged atomizer from another nozzle.
If Chevrolet is diagnosed after tuning, then you can see that the coefficient of the primary chamber is in the region of 125, and the coefficient of the secondary chamber is at the level of 162. At the same time, the line shows the number 190 on the air jet. But, if you look closely, you can see that the jet is not maximum. If you “wind” it to the mark of 230, then the Chevrolet torque will increase by about 10%. In this way, you will increase the dynamics of your Orlando a little more.
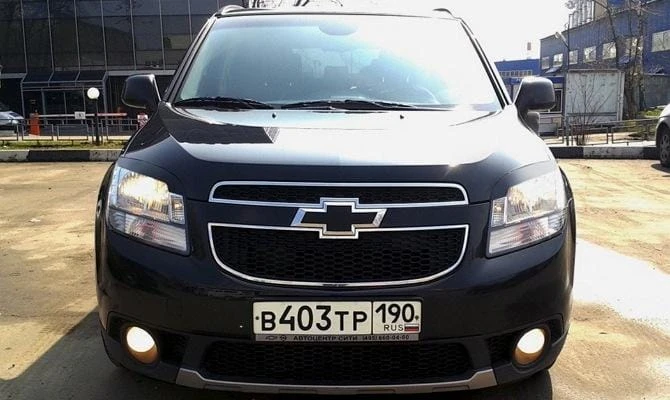
3 Beautiful overlays for optics – we give originality
front optics Orlando has a large clearance. This can be done by installing a plastic cover on the headlights, which will give the car a more original look. Today you can find a huge number of these accessories, most of which are quite easy to install on their own and do not affect the operation of the lighting fixtures in the front of the Chevrolet at all.
When buying pads, you need to pay attention to their width. Therefore, pieces with a width of more than 3 cm will cover standard lights from above. At the same time, fittings of 1 cm will practically not change the appearance of the car. In the case of Orlando, the best option for external tuning will be 150 × 20 mm overlays, where 20 mm is the width of the element, and 150 mm is its length. The manufacturer of the spare part does not matter. But if possible, it is better to choose products from more well-known manufacturers.
Covers for Chevrolet Orlando headlights In addition to accessories, for tuning we will also need:
- stationery knife;
- adhesive tape or masking tape;
- flat and Phillips screwdrivers;
- Super glue.
First you need to remove the Chevrolet headlights along with the protective trim. Many “specialists” glue accessories on optics without disassembling them. As a result, the pieces slide off very quickly or fall off completely. After removing the headlight deflector, the surface must be completely clean and free of grease. Then gently apply superglue to the protective glass. After that, remove the paper base from the accessory and carefully apply the coating. While the adhesive has not set, the lining can be moved to the optimal position.
Next, take masking tape and fix the overlay on the headlight. We left the structure for a couple of hours and took another Orlando lighthouse. After a few hours, the Chevrolet optics can be cleaned of adhesive tape and reinstalled
4 Applying tinted windows – making driving more comfortable
It's no secret that driving in the summer is complicated not only by melting asphalt, but also by the blinding sun. As a result, the eyes of the driver and passengers get tired much faster, which negatively affects the concentration of attention on the road. To facilitate driving in hot weather, we recommend tuning by dimming the windows with your own hands.
Before you get started, you need to choose the right accessory for staining. This problem must be approached very competently, it is not worth choosing a cheap Chinese film. It is better to pay a little more and buy a very high-quality rental. In addition to the film, for setting up you will need to prepare:
- spray;
- hard and soft distillation;
- paper towels;
- soft sponge;
- scraper;
- household hair dryer;
- stationery knife;
- rule.
Before work, you need to prepare a soap solution in the ratio of 2 liters of water to 5 drops of shampoo. Next, you need to thoroughly clean the Orlando glass, completely remove dust and adhesive residue. We proceed to the pattern of the film for its application. To do this, you need to find the sticky side of the product; in most cases it is protected by a color coating. The film must always be cut along the roll. In this case, you need to cut a piece a few centimeters larger than the window.

Tinted Chevrolet Orlando The lower part of the tint should run parallel to the outer seal of the Chevrolet window. With the help of forcing and a knife, you need to make vertical cuts so that, if necessary, you can throw part of the pattern on the stamp. Then we bend the bottom half of the pattern and lower the Orlando glass a little. We fix the tinting on top of the glass, make a horizontal incision in the hole, and then give the tinting the final shape.
Next, we proceed directly to the application of the dye. To do this, spray the product on the outside of the Chevrolet window and clean its bottom with a scraper. Lower the glass a little and do the same with the window. Then wash the window with a soft sponge and dry it. Once again, generously spray on the glass and remove the liner from the previously cut piece of tinting. It is not necessary to completely remove the liner, it is enough to expose the film by 2/3 of its size. Moisten the sticky part of the tint and gently apply to the glass. At the same time, try not to touch the rubber seal of the Orlando window with the sticky side.
We align the product along the upper edge and see that there are no gaps. After that, we begin to gently squeeze out the soap solution under the dye. To completely remove water, it is necessary to expel it from the center of the glass to the edges, using a strong distillation. Then lift the window, remove the liner completely and finally stick the tint on the glass. We squeeze out the solution from under this part and proceed to gluing another Chevrolet window. At the end of tuning, it is better to leave the car with open windows for about a day. During this time, the tinting will completely seize the surface of the windows.