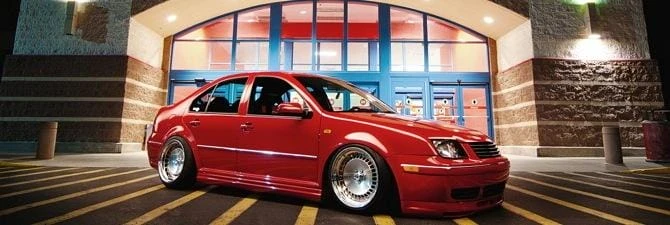
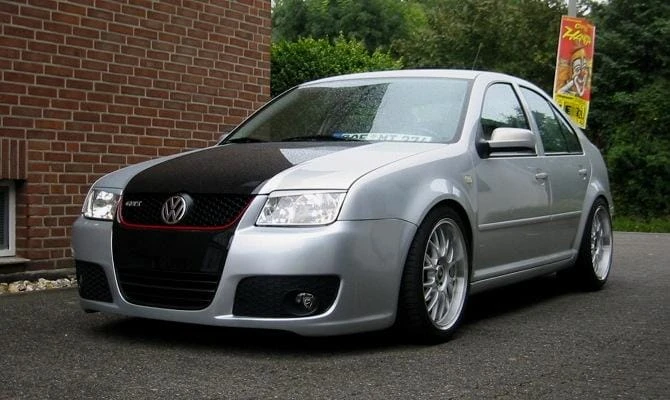
Finalization of Volkswagen Bora – we improve the engine, suspension and headlights of the German model
Both internal and external repairs of the Volkswagen Bora are not much different from the modernization of other models of the German automaker. As a rule, car tuning begins with the refinement of the details of the engine compartment, after which you can move on to styling the body. Let's take a look at the basic principles of refining the Bora and see what parts are suitable to improve this popular model.
1 Selection, installation and operation of engine preheating
Since its introduction to the world market, the Volkswagen Bora has begun to position itself as the best option for the modern and busy person. The car has satisfactory technical characteristics and low fuel consumption. Take, for example, the 1.6-liter Bora sedan from 1999 to 2004. As standard, the car is equipped with a 101-liter fuel-injected power unit and an average city fuel consumption of 6.5 l / 100 km. The model includes a mechanical transmission, ventilated front and rear disc brakes, McPherson independent front suspension. As you can see, there are not enough stars from the sky. But perhaps this is the highlight of Bohr. After all, thanks to the average price of 550 thousand conventional units, a reliable and high-quality car can be offered not only by successful entrepreneurs,
Many experts believe that one of the main problems not only of the Bora model, but also of other Volkswagen cars is the difficulty of starting the engine at sub-zero temperatures. Each of the car owners in our country solves this problem in different ways. Some motorists install special casings on the engine in winter, designed to maintain engine temperature. For the rest, buy special plugs for the radiator grilles. In addition to all of the above methods, there is another option that differs in the principle of operation, greater efficiency and a modest budget. This is an electric heater that is activated before starting the engine.
Engine preheaters are dependent and autonomous. Devices of the first type are switched on and off by the owner of the machine. Autonomous heaters work completely autonomously, but their cost starts from 6 thousand conventional units. Consider an inexpensive version of equipment that runs on a conventional outlet.
Dependent engine heaters, or “boilers”, operate on a fairly simple principle. To begin with, the device is connected to the outlet, after which the liquid in the body begins to heat up. As the temperature of the liquid increases, the pressure increases. As a result, the valve closes the inlet, after which the liquid changes direction and leaves the outlet. As soon as the pressure drops, the inlet tube opens and heated liquid enters it. Thus, the heated liquid gradually circulates inside the device, preventing the engine from cooling down quickly. The thermostat helps to maintain a high temperature, which also protects the heater from overheating.
Volkswagen Bora There is a wide range of heaters on the market, but not all of them are suitable for the Bora. In particular, for tuning a Volkswagen model, the Severs-M, Start-M and Leader equipment would be the best option. All these domestic enterprises are engaged in the production of high-quality and inexpensive heaters suitable for installation on most Volkswagen models. Another factor is the power of the heating element. For 8-valve Bohr engines, 1 kW equipment is sufficient.
After buying a “boiler”, you can immediately proceed to install it on your Volkswagen. This does not require a large amount of equipment, as well as experience in conducting such events. The main thing is to put the boron in the inspection hole and act strictly according to the instructions. First you need to fix the heating element on the cylinder block. To do this, the device is attached to the bracket kit. Next, unscrew the temperature sensor and insert a T-shaped fitting instead. We screw the temperature sensor into the fitting and into the end of the fitting – a pipe that drains the heated antifreeze from the heater housing.
At the next stage of adjustment, instead of screwing in the pipe for supplying cold liquid to the heater, unscrew the drain plug of the cylinder block. Next, install the clamps on both pipes. We check the operation of the heating system and determine the time required to warm up the Volkswagen engine. As a rule, it takes no more than 40 minutes to warm up the engine with a 1 kW device.
There are some nuances in the operation of an electric heater. First, it's best to start a warm Bora engine with the clutch depressed. Secondly, it is not necessary to turn on the Volkswagen engine heater from the outlet all night. Thirdly, to work with the equipment, it is worth using an outlet with a timer. Fourthly, we do not advise throwing electrical cables across the street, otherwise you risk getting a fine from the fire department.
2 ERA self-installation – refinement of the Bora suspension
Shock absorbers are one of the main components of the chassis of any vehicle. It is these details that provide not only comfort, but also safety when driving. Volkswagen knows this well, which is why every car service model is equipped with reliable shock absorbers. However, despite the quality of the parts and the entire assembly as a whole, there are riders who seek to improve this suspension element as well. This can be done in several ways. For example, install spacers or replace shock absorbers with sports parts from well-known tuning shops.
Another effective option to improve the Bora frame is to buy and install electronically adjustable shock absorbers or ERA yourself. The main feature of such parts is not an increase in rigidity or softness, but versatility. These elements allow you to turn the switch to adjust the suspension to the surface.
Separately, it is worth mentioning the control of shock absorbers. It is carried out when the car is moving directly from the driver's seat. The driver just needs to turn the adjustment knob to one of three modes. Automatic mode is regulated by the system itself in the entire available range. In this case, the system itself selects the optimal settings for the rigidity of the parts, depending on the conditions. The second mode – semi-automatic, allows the driver to set range limits, after which the system will work independently. The third mode is manual, in which the driver has full control over the stiffness of the suspension of his car.
Among the entire range of ERA for foreign cars, elements of the state-owned company Sistema Tekhnologii are ideal for installation on Bora. They are reliable and can also be installed on high-weight Volkswagen models already tuned to the engine, suspension or bodywork.
Bora Body Adjustment
To remove old and install new shock absorbers, we need:
- special wrench for removing shock absorbers;
- keys set;
- Screwdriver Set;
- Jack.
First you need to lift the front wheels of the Bora. To do this, raise the car and open the Volkswagen hood. Next, we put a special key on the shock absorber rod so that it does not rotate around the axis. Then unscrew and remove the nut and spring washer with a wrench. Then remove the washer and top Bora mounting pad. The next step is to crawl under the car and unscrew the 2 nuts securing the bracket to the arm. Then slowly pull the original Volkswagen shock absorber towards you and pull it out completely.
Then, instead of the regular one, we install a new shock absorber. To do this, we first push the wiring part through the engine compartment and take it to the salon under the dashboard. Next, we put a new shock absorber and assemble the disassembled structure in the reverse order. After you have installed all the parts and the wires from them were in the booth, you can proceed to install the switch included in the kit. A suitable place would be a seat in the center console of the Volkswagen dashboard. There is already a hole in the panel for this, you just need to cut and remove the plastic cover. We put the switch and fix its body with small bolts. It is better to connect the equipment to the electrical panel, which is located to the right of the Bora steering wheel.
After tuning, it is worth testing the updated suspension. The difference will be noticed from the first meters of the road. The car will not only smoothly overcome obstacles, but will also become much more obedient in turns. At first, a slight blow is possible in the area of u200bu200bthe wheel arches, but there is no reason for concern – it will disappear after the first 50-100 km of the eaten road.
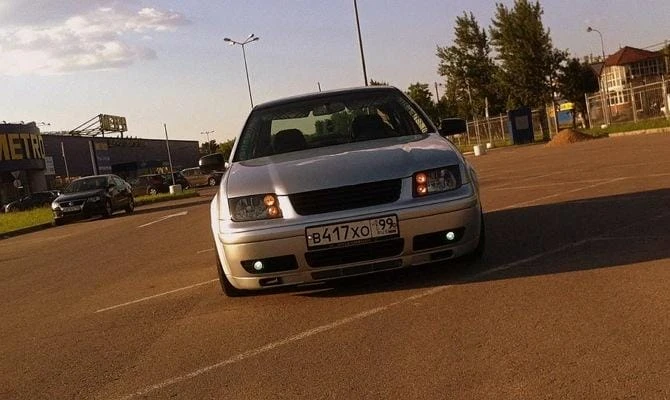
3 Improving the headlights of a car – backlighting with a phosphor
There are many ways to give your Bora headlights a completely different look. Many Volkswagen car owners prefer to install halogen headlights in the front and rear of the car. But few people know about the existence of another effective method – headlight adjustment using phosphor, a special powder that accumulates sunlight during the day and emits a bright glow at night. In terms of its properties, phosphorus is very similar to phosphorus, which is why inexperienced motorists confuse these two substances.
Phosphorus can be produced on both aluminum and zinc bases. The second shines brighter, but less time than aluminum-based powder. The only drawback of the substance is the lack of luminescence at low temperatures.

Headlight illumination with phosphor
The phosphor can glow blue-green or yellow-green light. To obtain other colors, fluorescent charges are added to the powder in a ratio of 100 units of phosphorus to 15 units of fluorescent charges.
After mixing, the powder can be applied to automotive optics. To properly tune, it is best to remove the Volkswagen headlight. Thus, we will not leave “bare” areas on its surface. First, we disassemble the plastic cover of automotive optics, after which we take out the headlights. Wash, dry and degrease the surface. While the Bora headlights are drying, it is necessary to dilute the powder with putty and add two-component paint to the mixture. Proportions: 30 units of a mixture of phosphorus and 100 units of paint. Mix thoroughly, avoiding precipitation of phosphorus.
Next, we immediately apply the substance to the surface of the optics. As practice shows, when working it is best to use an airbrush. It will spread the mixture evenly over the Volkswagen headlight cover. Do not apply more than 2 layers of liquid to the emitter, otherwise you risk losing the glow of the headlight itself. At the end of tuning, the headlights should dry completely. As a result, it remains to install the optics in a regular place and proceed with the modernization of the Volkswagen taillights.
4 Alternative rear fog lights on Volkswagen – do-it-yourself installation
Unfortunately, there are not as many ways to modify the rear optics of Volkswagen cars as to upgrade the headlights. Therefore, the owners of Bora have no choice but to come up with new ways to adjust the headlights on their own. One of the latest DIY options is installing an overhead fog light, which is a great alternative to the under-bright stock Bora fog lights.
Alternate optics must be selected before starting setup. Among all the emitters available on the market, we advise you to pay attention to the headlights of the Polish manufacturer Wesem, equipped with Osram 7501 emitters. After purchasing the optics, we can proceed with its installation.
Volkswagen with “Wese” fog light optics The headlight we purchased will be mounted on the spare wheel recess. To make headlight assembly easier, we recommend that you raise the Bora's rear axle. Next, you need to drill a hole in the leftmost position of the niche. We proceed to the installation and fastening of the rear fog lights. Without fully tightening the bolts, you need to adjust the position of the optics. To properly adjust its position, you need to connect the headlight to the braid of wires under the Volkswagen interior trim. In this case, the plus of the alternative optics must be connected to the orange wire with a black stripe, and the minus to the completely black wire.
After connecting correctly, you will notice how much brighter the alternative optics shines. Having adjusted its position, we finally fix the headlight and hide the wires under the upholstery of the car. Don't forget to remove or disable the stock Volkswagen fog lights or a car with three fog lights will not comply with the regulations.