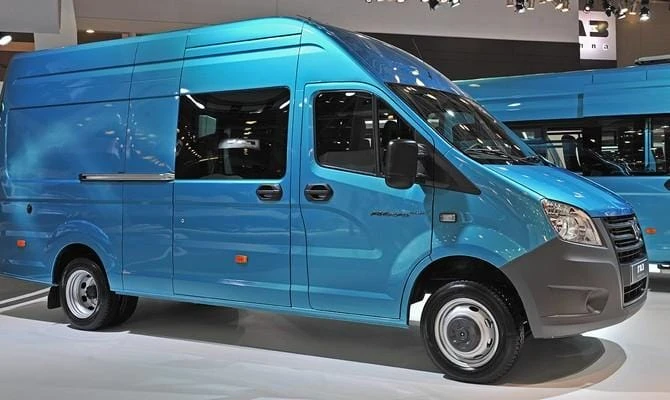
Gazelle Next Improvement – New Solutions to Old Problems
The modernization of the Gazelle Next, like the tuning of other minibuses, is aimed at increasing comfort in the cabin. Since the machine is mainly used for daily work, most of the requirements are placed on the cab. At the same time, one should not forget to improve the dynamic characteristics. After all, proper engine tuning is the key to long-term operation of the car in any weather conditions.
1 Replacing the Gazelle ECU firmware – what to consider when preparing equipment?
Chip tuning of cars and SUVs has become commonplace for the vast majority of motorists. How about making the van's ECU flash? In fact, many drivers still don't take on this job, given that replacing the Next block software is very different from optimizing the chip for small cars. In fact, not everything is as complicated as it seems at first glance. Yes, it may be difficult to choose a new firmware. You may have questions when installing the engine and other elements of the car. However, after overcoming all these “pitfalls” your gazelle will begin a completely different life. But, as they say, first things first.
Gazelle Next So, before you conduct an independent chip tuning, you need to properly prepare. The first thing the work will not do without is a new firmware. It should be given special attention, because the well-coordinated work of the Next elements depends on the new software. The minibus chip can be configured with most of the firmware developed for the Mikas 10.3 ECU. But there is a problem with finding a publisher. This component also plays a very important role, since it is she who is responsible for reading the firmware of the standard Gazelle ECU. Finding publishers is difficult due to the fact that only a few companies are developing them. The leader among them is the Chinese developer Inline Technologies, which creates medium quality editors at a very reasonable price.
You can buy a built-in editor both on the company's website and on the websites of private sellers. It should be said right away that the first option is preferable, since on the company's website you will receive a guarantee for the webmaster. After downloading the firmware and the editor for it, you need to take care of other components for chip tuning. For do-it-yourself firmware, you will also need an original K-Line adapter with a USB adapter, PAK Combiloader Loader and a computer with Windows XP. After preparing the hardware, you can immediately install the drivers from the PAK Loader and the adapter on your computer.
2 Chip tuning of a minibus – a detailed algorithm of work
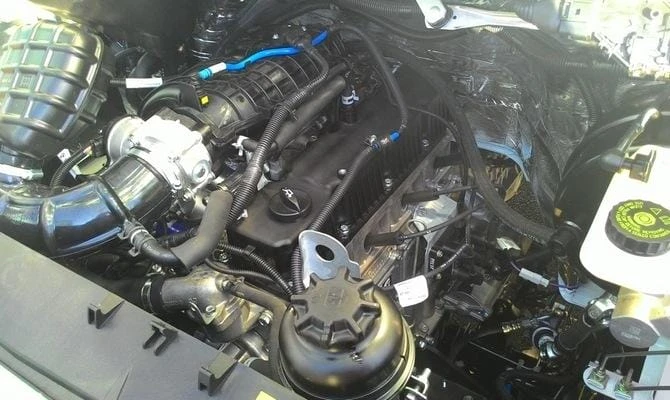
After preparation, we proceed directly to setting up the microcircuit. To do this, first turn off the computer. It is located under the wiper motor. Open the hood and unscrew the protective plastic cover. We see a block below it. We disconnect all wires from it and take it out of the protective case. We transfer the computer to the room with the PC and connect the K-Line adapter to it. At the other end of the adapter, insert the adapter and connect it to the USB connector of the computer. In parallel with the K-Line adapter, you will need to connect the PAK Loader. To do this, we connect one end of the cable to the Gazelle ECU, and the other end to the PC USB connector.
Chip tuning Gazelle Next Now you need to wait until the computer loads the data on the Next block. This part of chip tuning is slightly different from the same flash phase of other cars. The fact is that the Gazelle is equipped with an ECU, which is connected to the engine through a special connector. For this reason, when reading data on the Next engine, all sensors stored in the block will be displayed on the computer monitor. Therefore, if you see a black monitor in front of you with constantly running numbers, do not be scared and do not press anything. After about 5 minutes, this screen will disappear and a folder with information about the Gazelle drive will appear on the desktop.
At the end of reading, look for a file with a.zip extension. We need to replace this file with the new firmware. We select the previously downloaded utility and copy it to the folder with the standard program. To do this, click “Open archive” on the new firmware. After a few seconds, the Combiloader window will appear on the monitor. In it, the PAK loader will offer to configure the following items. Proper calibration of the engine and other car parts is a very important step in chip tuning. Here it is necessary to choose the “golden mean” – to slightly increase the performance of the car and at the same time not damage other parts. When adjusting the elements, constantly check the indicators of all details displayed on the monitor.
After the calibration is completed, click “OK” and wait for the new firmware to be installed in the “Next” block. Once the last chiptuning step is done, click OK again and disconnect the wires. We put the unit in place under the hood, connect the wires and observe the changes in the car. And they are really huge. Firstly, after chip tuning, engine power increased by 20-28%. Secondly, the dynamics of the Gazelle has grown, now the maximum threshold for the Next engine will be 2500 rpm. This will positively affect the acceleration of the car and the operation of the transmission. When you ride at low speeds, you no longer feel dips or lack of traction. Also, after a homemade flash, the usual failures with a sharp single-point start and reverse will disappear. In other words, your Next's engine will now crash much less frequently.
3 Modernization of the interior – replacement of the standard seat upholstery
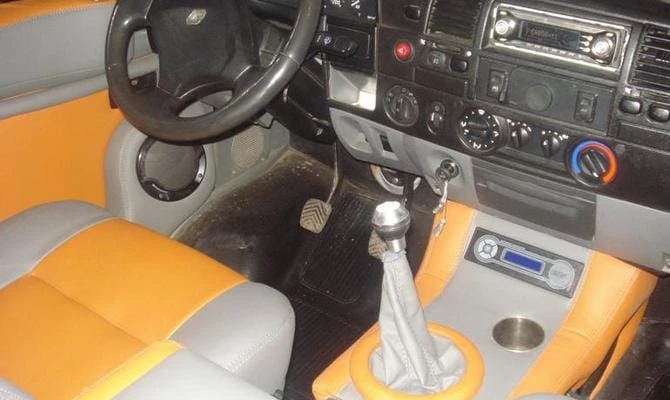
Regardless of the type of Gazelle – passenger or cargo, it is necessary to change seats in its cabin. And the sooner you do it, the better. Normal Next chairs are stretched with rather hard material. In addition, the manufacturer greatly exaggerated when he pulled the upholstery of the seats of the minibus. As a result, any scratches or small holes increase in size very quickly and destroy the entire chair.
Modernization of the Gazelle Next salon This will not be a big problem, because a suitable product can be found both in car dealerships and on the websites of manufacturing companies. You need to choose the fabric for the upholstery taking into account your budget. If you can spend about 5 thousand conventional units, then alcantara would be a suitable option. Despite the high cost, buying it, you will definitely solve the problem with the upholstery of the seat. The material will last a long time, reliable, easy to maintain and clean. If you're on a budget, consider suede, a cheaper alternative to Alcantara. In addition, it is very easy to clean and will last a little less than Alcantara.
Not all materials are suitable for interior cladding. We strongly do not recommend changing the standard fabric to leatherette! This material heats up quickly when it sits on the overtaken seats, the passengers and driver of the Next literally stick together.
To replace the lining with our own hands, we need:
- a set of screwdrivers and keys;
- pliers;
- a set of plastic paper clips of the “paper clip” type;
- Super glue;
- scotch;
- scissors;
- needle and thread.
The thread for work must be selected in the same color as the purchased material. First, remove the seats of the Gazelle and take them out of the cab. Next, cut off the old material. It needs to be cut so that you have as few small pieces as possible. This will save you time when sewing new covers for Next. Then lay out the new skin on a flat surface and press it down with small, heavy objects. We put pieces of old covers on top. We outline the contours along which we will cut out the novelty, taking into account an additional 2 cm on each side.
We cut out the material and proceed to sewing covers. The seam that will connect the parts of the product must pass from the inside. Try not to see the seam at all. After stitching the new seat covers, you need to do the same with the head restraints. At the last stage of work, it remains to pull the seat covers and reinstall them in the car.
4 How can I improve the lighting in the spacious Next cabin?
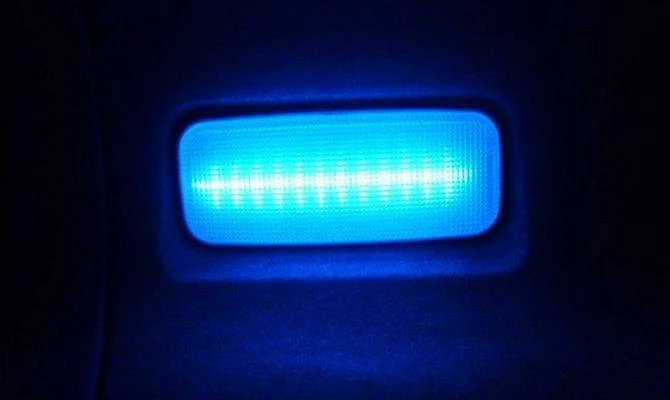
Among many drivers of minibuses, it is believed that one of the main drawbacks of the Gazelle is subdued lighting in the cabin. And in this statement there is a great deal of truth, because the Next model, for all its modernity, is equipped with bad shades on the ceiling. One of them is in front of the car and glows a little brighter. The rest, installed in the rear of the Gazelle, glows very dimly, almost without illuminating the interior. To improve the lighting of a standard ceiling, you will need to modify it a bit. To do this, we need light guides from an imported car. For example, instead of a standard part, you can buy the part from Opel Vivaro or Renault Trafic.
Lamps for car interiors In addition to light guides, it is necessary to replace ordinary Next light bulbs. To do this, we buy new emitters for a voltage of 12 V. Having bought everything you need, disconnect the battery terminals and remove the plastic cover of the Next lamp. Next, you need to remove the roof lining of the minibus. Behind him is a block with threads. Both of these elements are connected by a fiber that needs to be replaced. First, disconnect the old part from the block, and then disconnect the wires from it. Next, we connect a new light guide, install the ceiling lining and replace the standard light bulb. We do the same with other shades of Gazelle.
After updating with your own hands, you will immediately notice the difference. The interior of the car will become much brighter. Plus, if you do not spare money for a quality emitter, you will understand why your eyes hurt when you drive at night. For example, by installing Osram or Brevia bulbs, you will get rid of pain in your head and eyes. The emitters of these companies are quite powerful, and their light intensity is comparable to daylight sunlight.


